
Registration
We register 25 6-12 year olds, although a significant portion were 7-9. Because we are dealing with food and there are now a wide range of allergies and diets, we list all of the ingredients we will be using in the program. We then leave it up to the parents to monitor whether or not this would be a good program for their child to attend and what they can eat/make.
As a side note, we did run the idea of food-based programs through our library insurance policy. If you are going to do these too, this may be something that you want to do.
Before the Program
You will want to put out as many of the materials as you can before the kids enter the room. Things that we have found helpful include paper plates, plastic silverware, dixie cups to hold various ingredients, and paper towels. You will want extra paper towels. We also make cookbooks so the kids can follow along with the recipes and take it home to try again.

The Program
Today Miss Kara led the program and I was the assistant. (Personally, I love the days when I get to be the assistant as it just doesn't happen often). The first thing we do as the kids come in the room is have them wash their hands. Luckily we have a sink in our program room, but this still takes 10 minutes or so. We did four recipes today and I will list them below, along with how much of the ingredients you will need for a group this size.

(I told Kara she was going up on the blog since she had the fancy apron!)
Recipe 1-No Cook S'mores
1 1/2 boxes of graham crackers (14.4 oz)
1 16 oz. container of chocolate frosting
1 13 oz. container of marshmallow fluff
This is where the dixie cups come in handy. We gave each kid a scoop (or a knifeful) of marshmallow fluff in one dixie cup and another with chocolate frosting. They were able to spread the ingredients themselves to make their s'mores. While we set up the next recipe, they could snack on their s'mores.
Recipe 2-Dinosaur Trail Mix
1 15 oz. bag of pretzel sticks (twigs)
2 boxes of raisins (berries)
1 12.5 oz. box of Honeycomb cereal (dinosaur footprints)
This is a really easy recipe as you just dump the ingredients in a large bowl and mix. We did this as a demo and had kids come up afterwards to fill their Ziploc baggies with some of the mix. Kara also talked about what other ingredients the kids could add for more pretend fun, such as white chocolate chips (rocks).
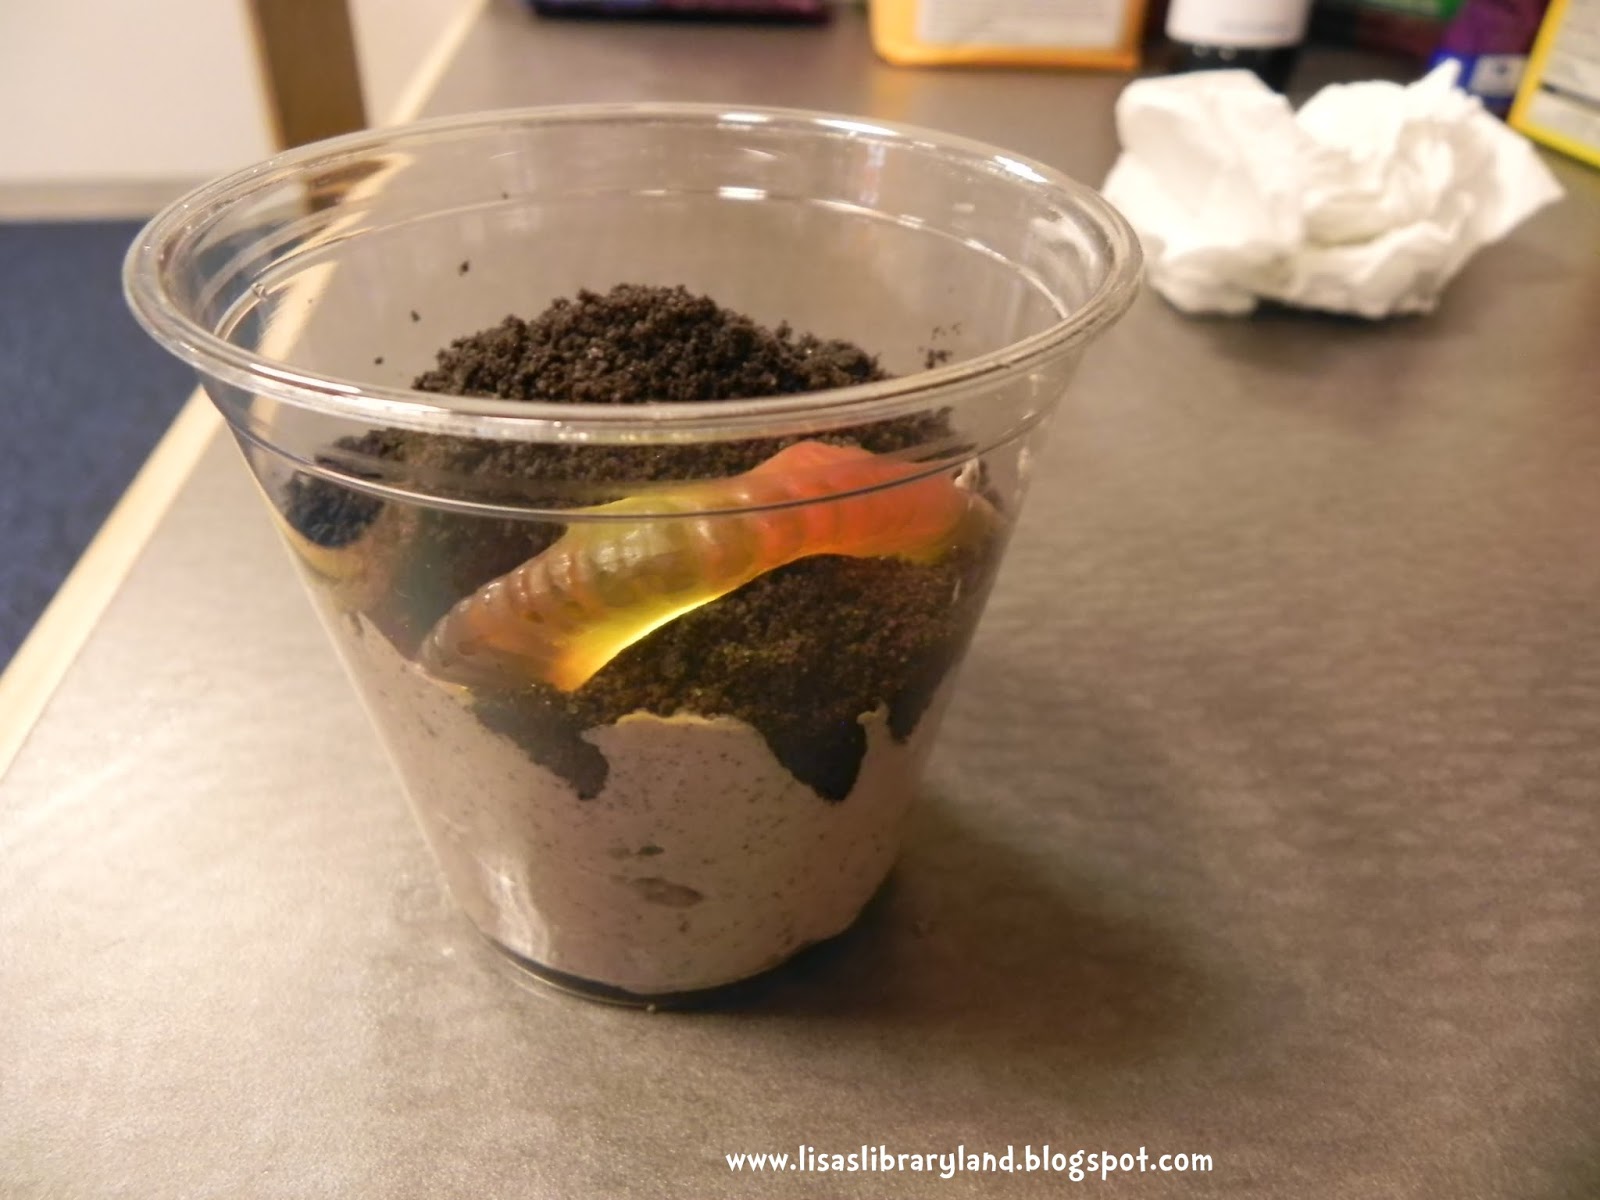
Recipe 3-Dirt Cups
1 pkg. (3.9 oz) Jell-o instant chocolate pudding
2 cups cold milk
1 tub (8 oz.) Cool Whip whipped topping, thawed
15 Oreos, finely crushed (or just buy a box of Oreo cookie crumbs)
1 worm-shaped chewy fruit snacks
**triple the ingredients above for a group this size
Beat pudding mix and milk in a large bowl with a whisk for 2 minutes. Let stand for 5 minutes. Stir in Cool Whip and 1/2 cup of cookie crumbs. Refrigerate for 1 hour.
This one required a little finagling because of the refrigeration. We premade the pudding so all the kids had to do was to scoop it in their cups, add Oreo crumbs, and top with gummy worms.
Recipe 4-Ice Cream in a Bag
2 bags of ice (the large bags that you would buy for a party)
6 quarts of half and half
1 large bag of salt (we used rock salt as the bigger the granules, the better)
1/3 of a 5 lb. bag of sugar
4 oz. vanilla extract
25 pint size Ziploc bags
at least 25 gallon size Ziploc bags (you will want extra as some leak)
2 containers of sprinkles or other mix-ins
Each kid will:
1. Combine 2 tablespoons of sugar, 1 cup of half and half, and 1/2 teaspoon of vanilla extract in a pint-sized Ziploc bag and seal it tightly. (It helps if you have an extra adult to help seal the bags.)
2. Place 1/2 cup salt (we used 2 handfuls of rock salt) in a gallon-sized Ziploc bag. Add enough ice to fill the bag half full. Place the sealed smaller bag in the gallon bag and seal. Now shake the bags until the mixture hardens (about 5 minutes). You will be able to feel the small bag to know when it is done.
3. Take the smaller bag out of the larger bag, add in the mix-ins and eat right out of the bag.
Our notes:
-This would be an awesome program next summer for the science theme. You could center the whole program around the ice cream and then have an ice cream social afterwards as the kids add in various toppings.
-You will need a place to dump the ice. Personally, I would use a large bowl or bucket as large pieces of rock salt do not go down the sink drain well (and I was picking them out).
-Ice cream in a bag does not refreeze well. It is best if it is eaten right away.

No comments:
Post a Comment